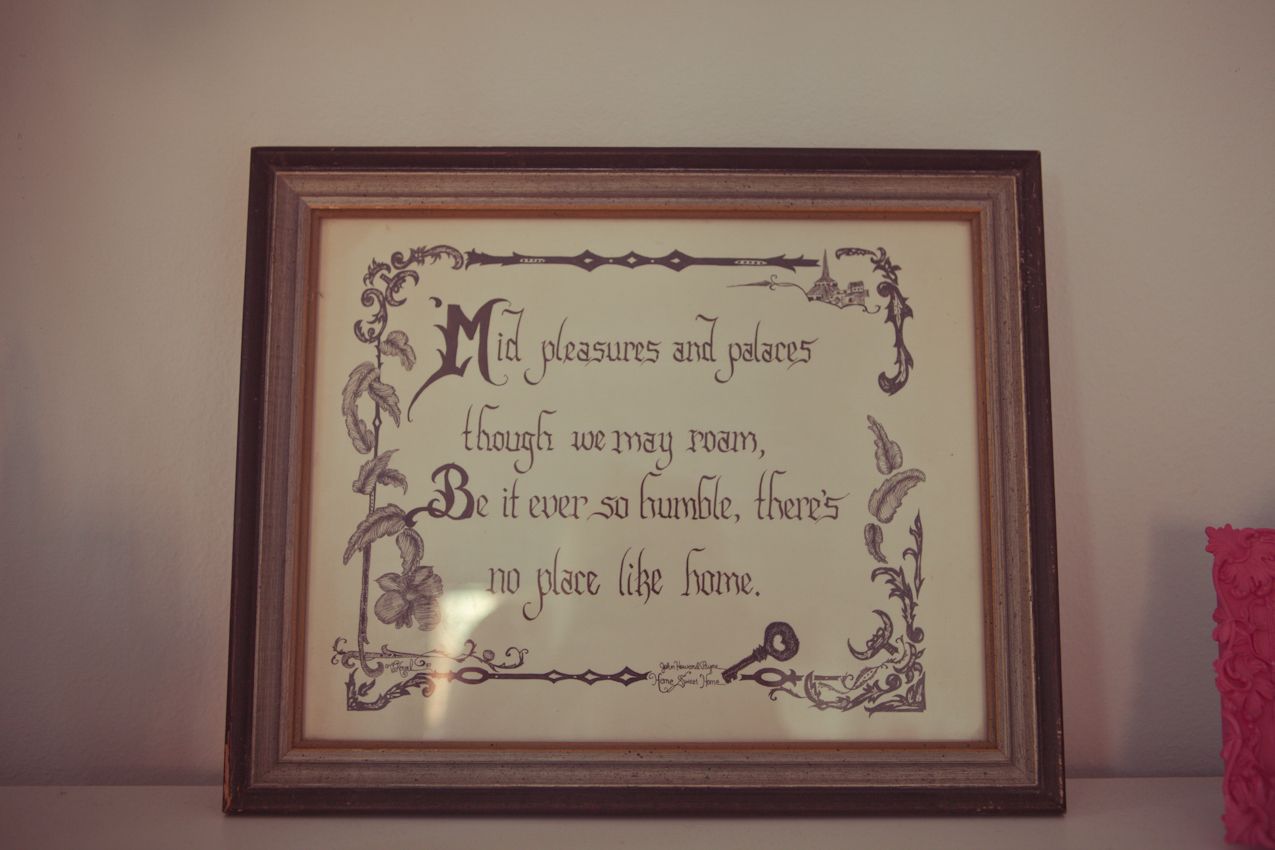
“in creating, the only hard thing is to begin;
a grass-blade's no easier to make than an oak. ”
james russel lowell
Good moooorning, Blog Faaaamily! Thank you so very much for all the kind feedback and general excitement regarding the blog and my latest posts. It helps me stay motivated to press on! (What kind of terrible person am I that I could lose motivation after only two days? I don't know.) But truly, your comments and such bless my heart (said in a Southern Mama Cass voice.)
MAKING THINGS! You ready? Today we are making things! A new glossy, happy, colorful, shiny, fun tabletop to replace a dingy, busted, drab tabletop.
This cute little table is an oddity. It's perfect for parties, maybe for a breakfast nook... but not much else. At least that I can come up with. It's too big to be a side table, to small to be a desk, too cute to be garbage, and too banged up to really, really fix. If this little guy is going to be mostly used for parties and cute meals, I decided to kick up it's personality a notch.
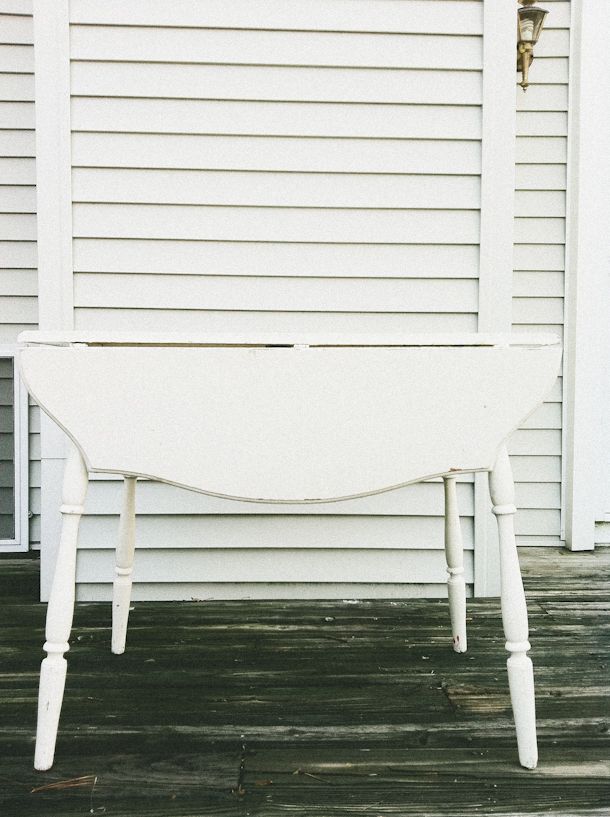
I started by sanding down the table top and legs. Nothing beats that smooth, fresh surface for paint.
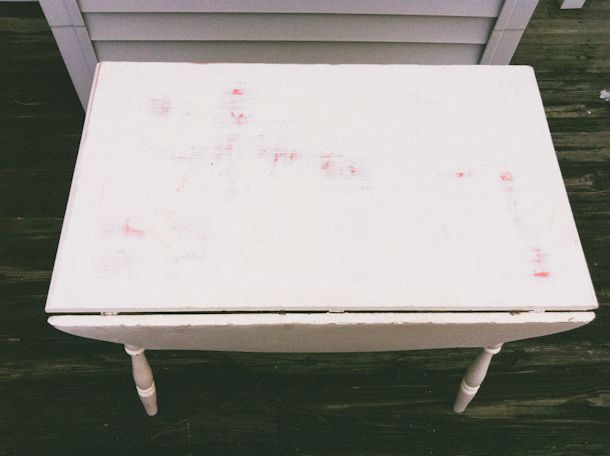
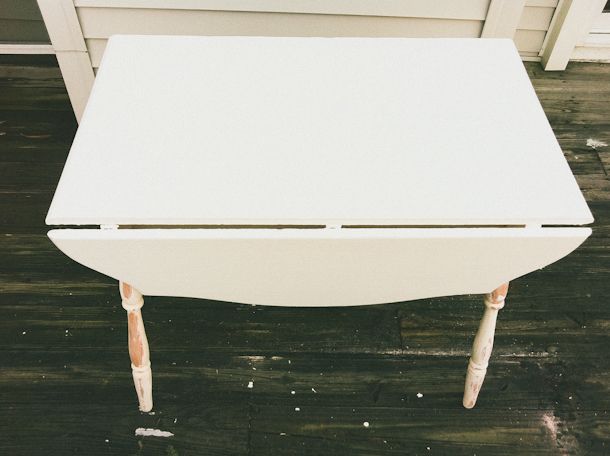
After sanding, Sweet Table received two new coats of bright white matte paint. This is where the fun begins. All the other stuff is boring and mandatory. Now we get to add some cuh-lllllah!
I googled around for a homemade watercolor paint recipe. The one I used is as easy as they come: mix together three tablespoons of baking soda, three tablespoons of corn starch, three tablespoons white vinegar, and 1.5 teaspoons corn syrup. When fizzing stops, separate into containers, add drops food coloring and wa-la! You have made your own inexpensive paint!
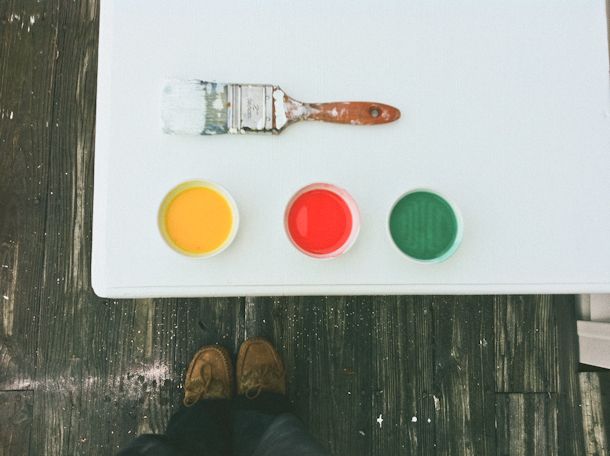
The paint is a little but gritty, which worked perfectly for this project because it seemed to settle into the wood and not slide around on top. It probably wouldn't be the best watercolor to use on paper (I'm only guessing though).
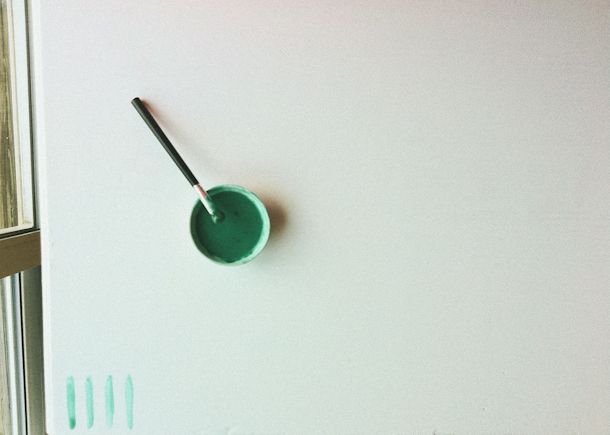
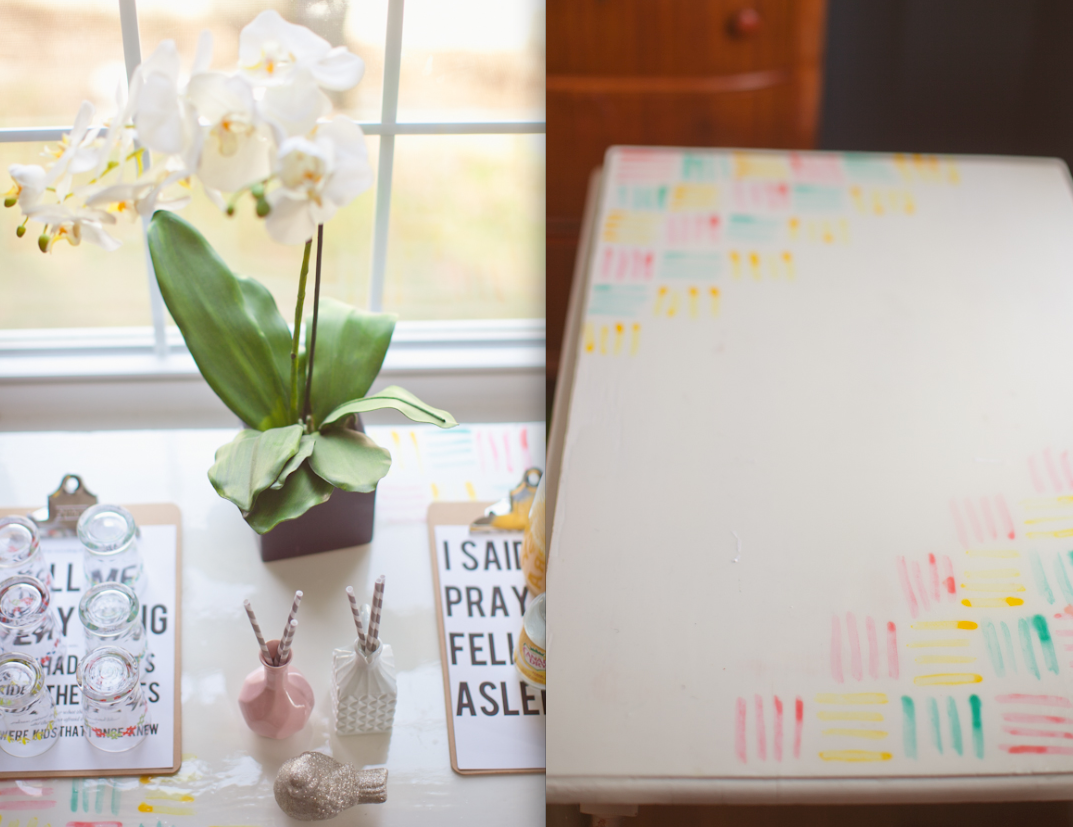
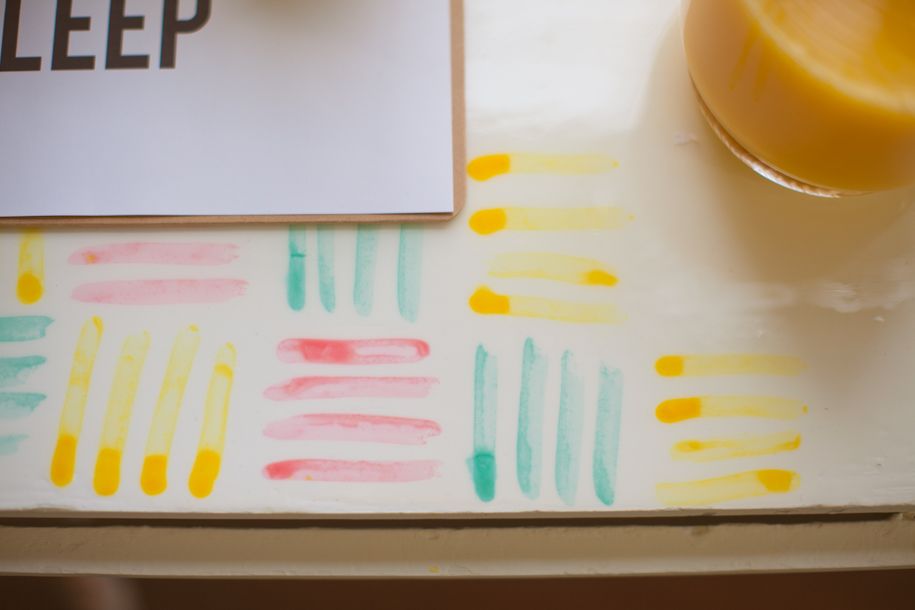
Before I began painting I had already planned what I wanted to do: a colorful thatched pattern! I definitely wanted it to be "imperfect" and casual. That look was also easier then making it perfect and very straight. I love it when my design taste and laziness work together ;) (ps. I painted with eye-shadow brushes! They cleaned up just fine when I was done.)
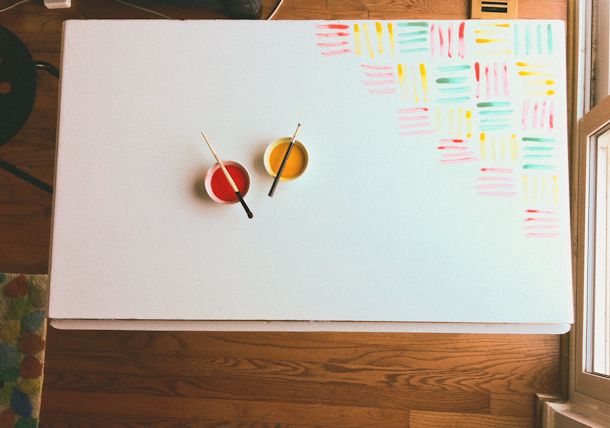
The next step to the project was adding an epoxy glaze on the tabletop (I used this brand... and it was $10 cheaper at my local Home Depot! And I used about 1/3 of the product for this table). I didn't want the white matte paint to scratch or the watercolor to peel off, so after so research I ended on the hard plastic glaze look. It'll be easy to clean and I think gives the old table a bit of a modern edge - kind of like those snazzy clear lucite chairs? Hey? (Don't you like my lackluster photography job? I poured the glaze at night, my iphone was right there... I caved to temptation.)
a grass-blade's no easier to make than an oak. ”
james russel lowell

Good moooorning, Blog Faaaamily! Thank you so very much for all the kind feedback and general excitement regarding the blog and my latest posts. It helps me stay motivated to press on! (What kind of terrible person am I that I could lose motivation after only two days? I don't know.) But truly, your comments and such bless my heart (said in a Southern Mama Cass voice.)
MAKING THINGS! You ready? Today we are making things! A new glossy, happy, colorful, shiny, fun tabletop to replace a dingy, busted, drab tabletop.
This cute little table is an oddity. It's perfect for parties, maybe for a breakfast nook... but not much else. At least that I can come up with. It's too big to be a side table, to small to be a desk, too cute to be garbage, and too banged up to really, really fix. If this little guy is going to be mostly used for parties and cute meals, I decided to kick up it's personality a notch.

I started by sanding down the table top and legs. Nothing beats that smooth, fresh surface for paint.

After sanding, Sweet Table received two new coats of bright white matte paint. This is where the fun begins. All the other stuff is boring and mandatory. Now we get to add some cuh-lllllah!

I googled around for a homemade watercolor paint recipe. The one I used is as easy as they come: mix together three tablespoons of baking soda, three tablespoons of corn starch, three tablespoons white vinegar, and 1.5 teaspoons corn syrup. When fizzing stops, separate into containers, add drops food coloring and wa-la! You have made your own inexpensive paint!

The paint is a little but gritty, which worked perfectly for this project because it seemed to settle into the wood and not slide around on top. It probably wouldn't be the best watercolor to use on paper (I'm only guessing though).

Before I began painting I had already planned what I wanted to do: a colorful thatched pattern! I definitely wanted it to be "imperfect" and casual. That look was also easier then making it perfect and very straight. I love it when my design taste and laziness work together ;) (ps. I painted with eye-shadow brushes! They cleaned up just fine when I was done.)

The next step to the project was adding an epoxy glaze on the tabletop (I used this brand... and it was $10 cheaper at my local Home Depot! And I used about 1/3 of the product for this table). I didn't want the white matte paint to scratch or the watercolor to peel off, so after so research I ended on the hard plastic glaze look. It'll be easy to clean and I think gives the old table a bit of a modern edge - kind of like those snazzy clear lucite chairs? Hey? (Don't you like my lackluster photography job? I poured the glaze at night, my iphone was right there... I caved to temptation.)
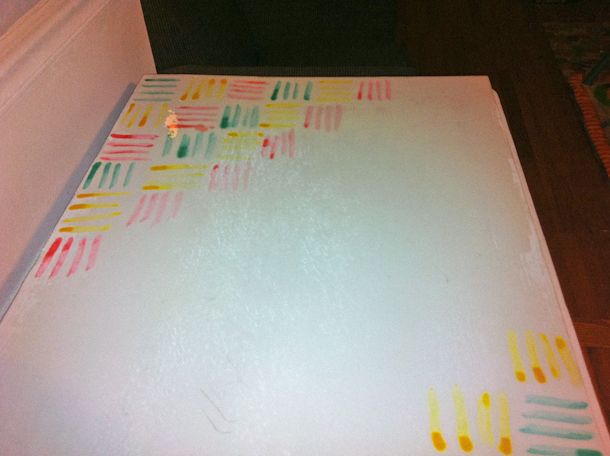
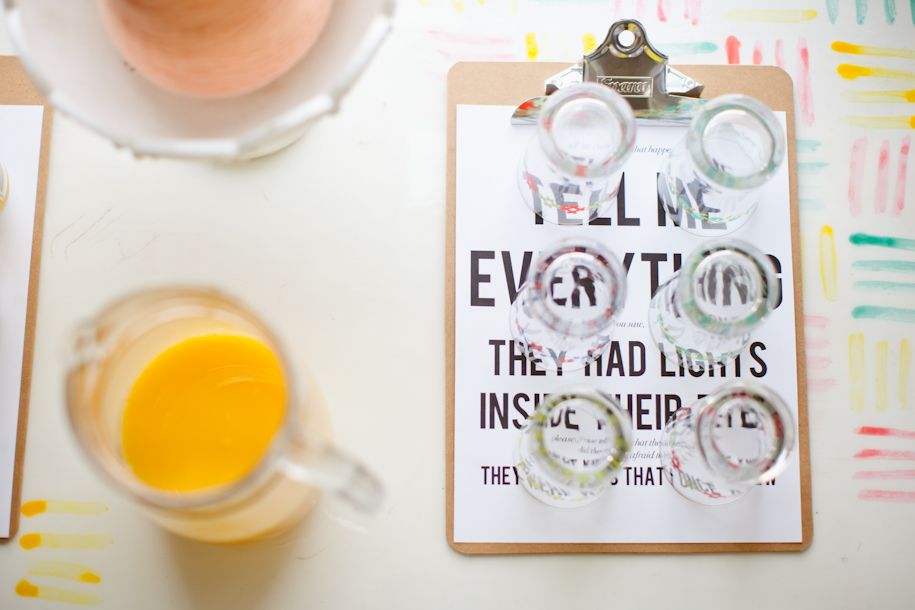
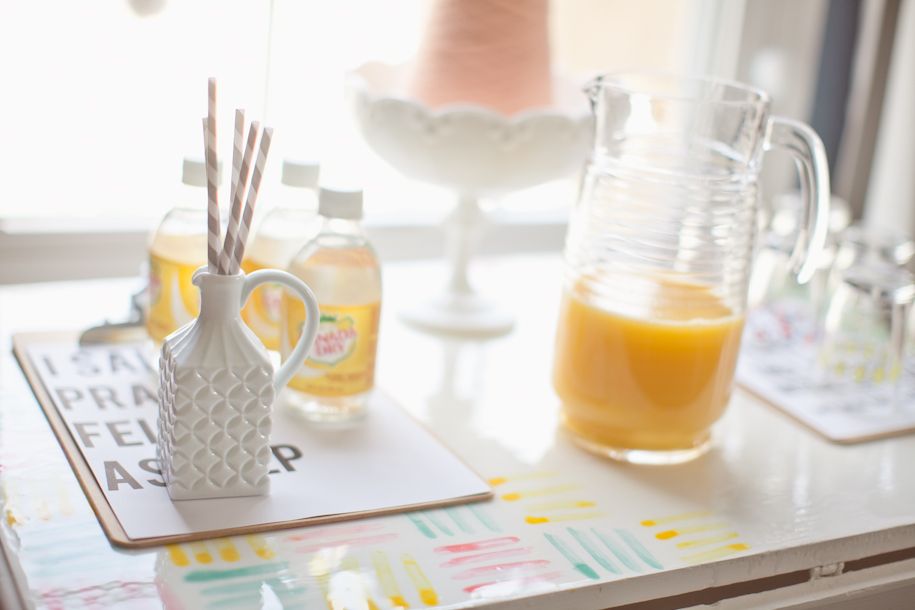
After I let it dry overnight, I had a fun new table! I decided to give Sweet Table some props... maybe for a small ladies breakfast? This is, after all, the perfect party and breakfast table! I've never seen such a cute mimosa bar ;)
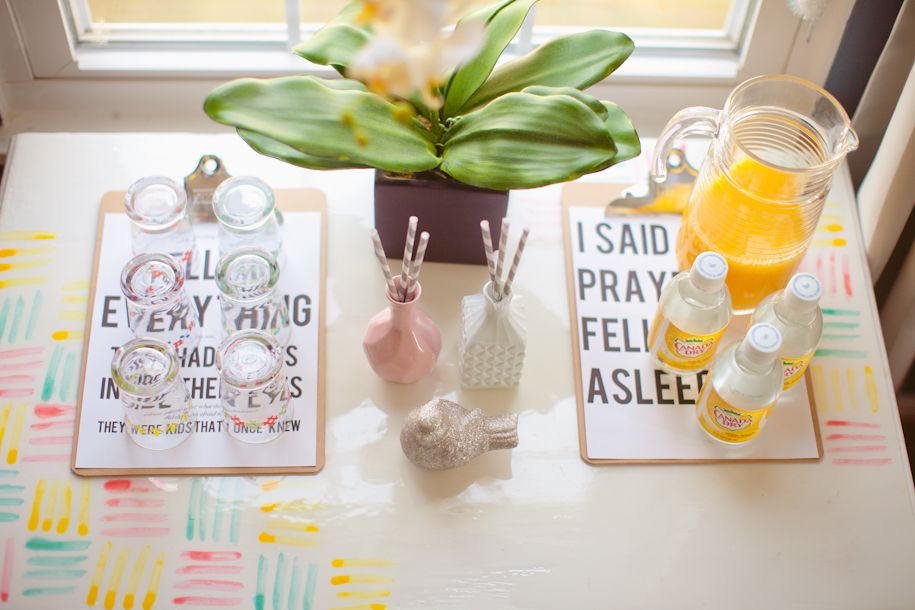
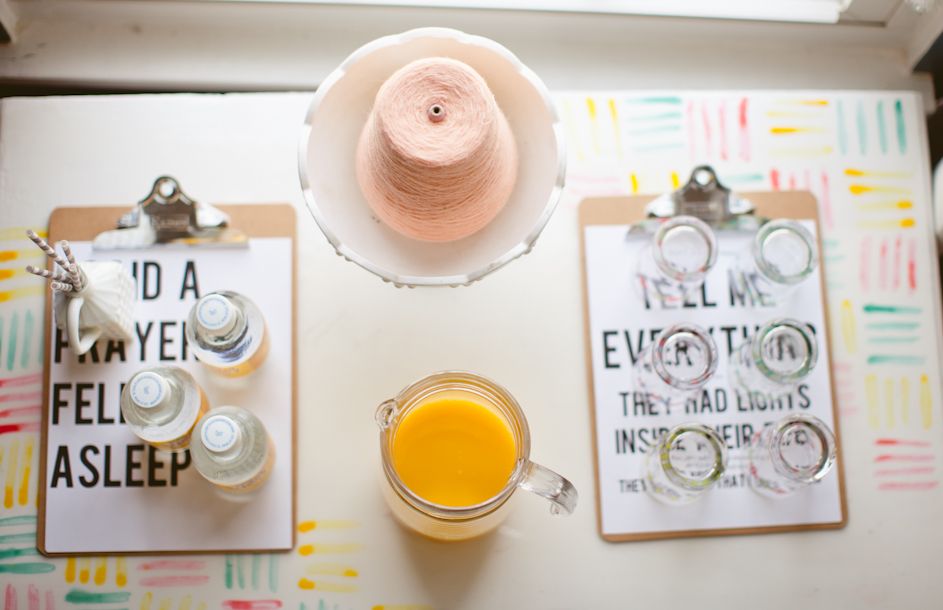
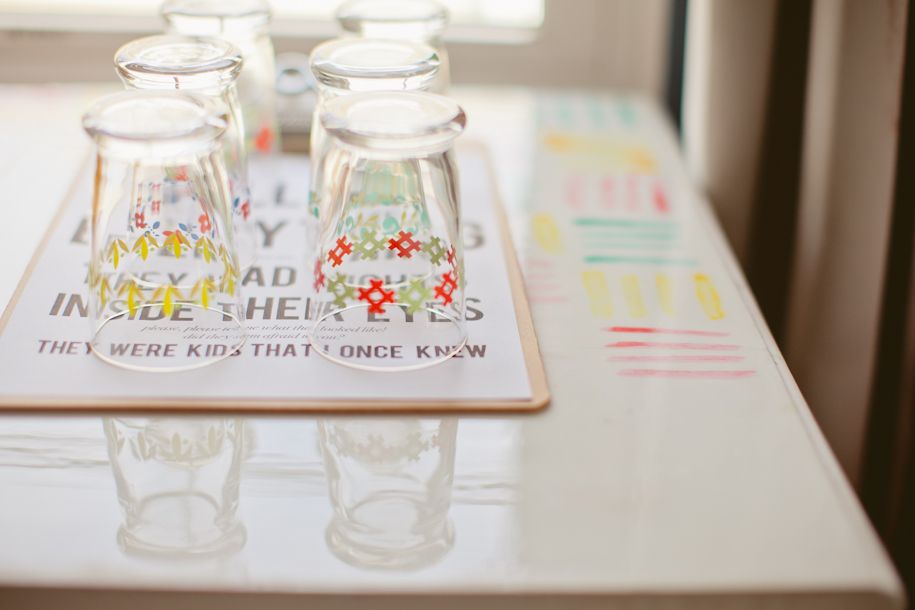
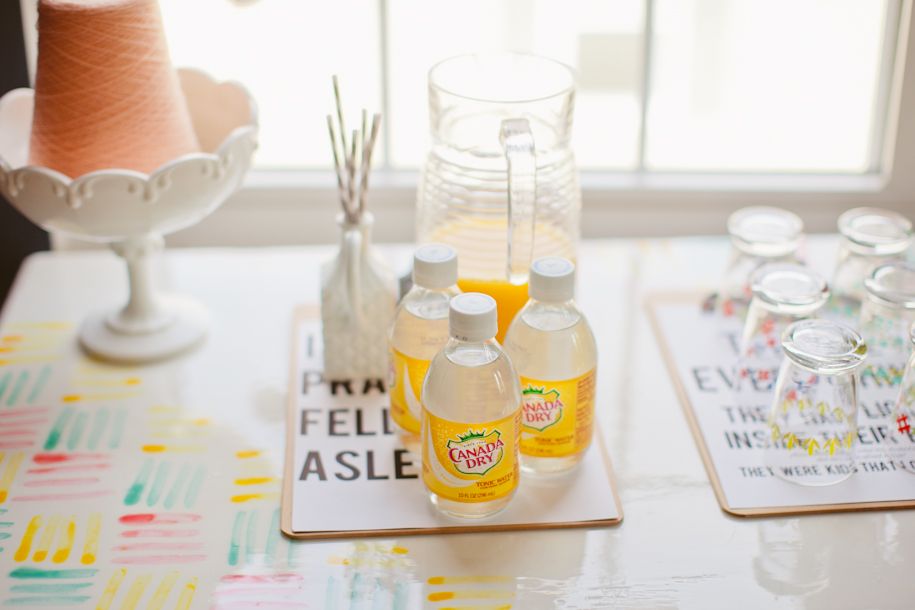
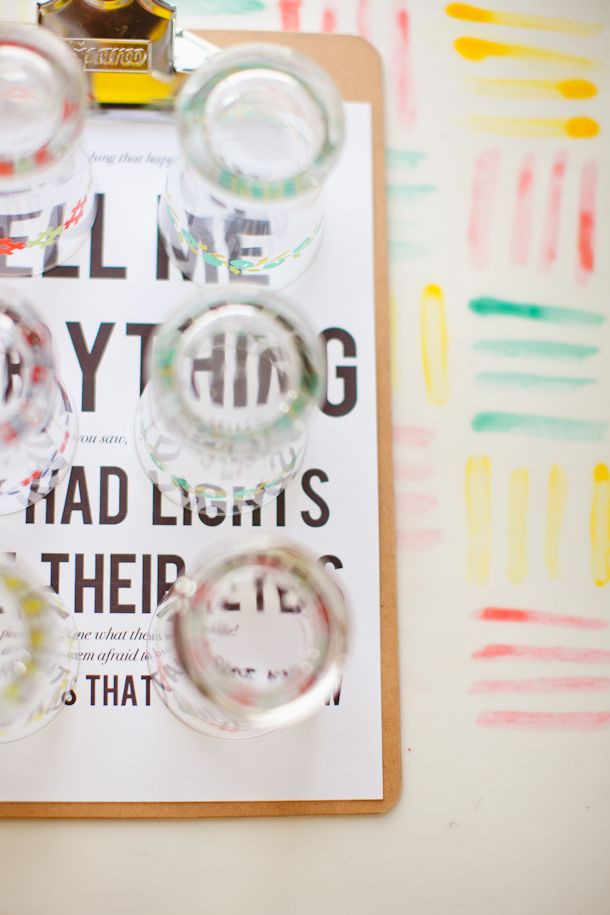
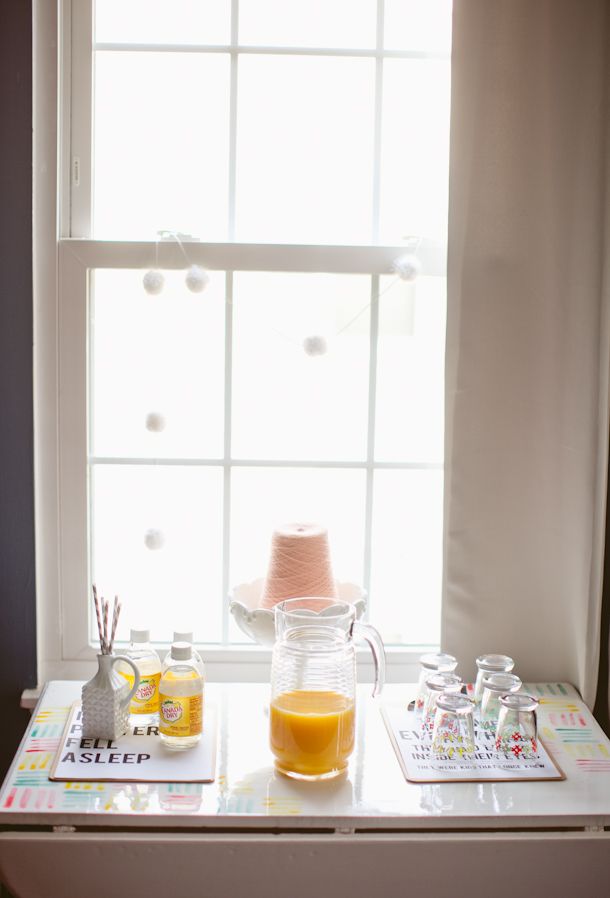
Make sure you let everything dry really well! I did this project over a couple of days, one little step at a time. Fresh white paint: dried over night. Watercolor paint: dried overnight. Glaze: dried over night. I would love to try this with other objects! Maybe wooden frames or shelves? I simply adore the shine and the color! You think you'd ever give this idea a whirl? :D
